Saturday 18 September 2010
The story so far
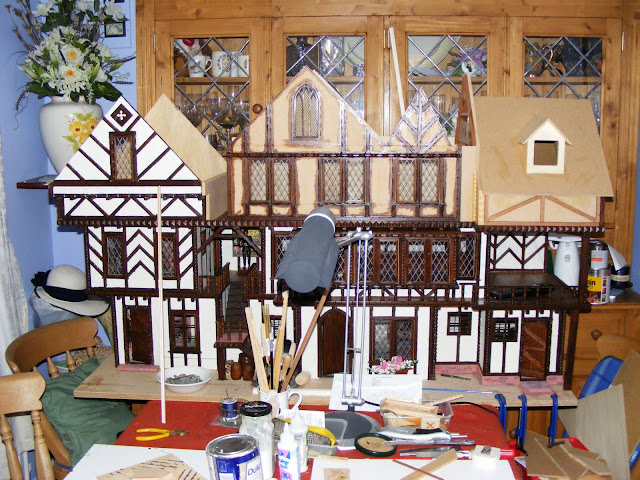
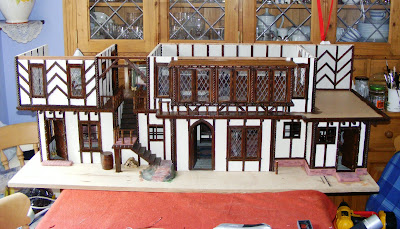
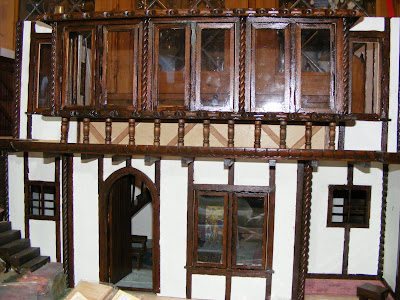
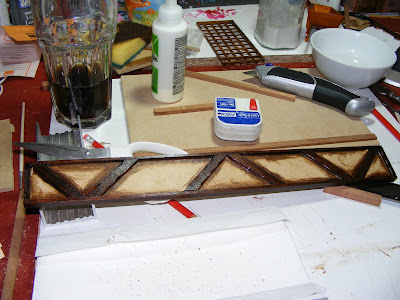
I have now caught up with pictures as to where I am at at the present. I have a ton of claying to do, which will probably take me all this weekend and next. But it is finally starting to take some shape.
Wednesday 15 September 2010
Tuesday 14 September 2010
Main Bedroom front
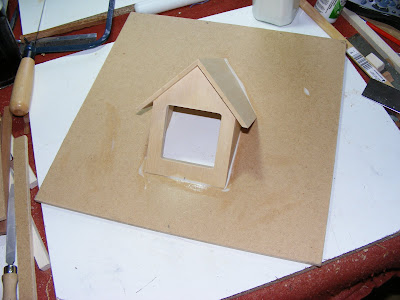
Front of main bedroom....think I will put two apexes on this, so that i get many different roof angles.
Sunday 12 September 2010
2nd Floor
I have decided that I am not going to have attic rooms, as I would like to be able to see all the roof beam work.
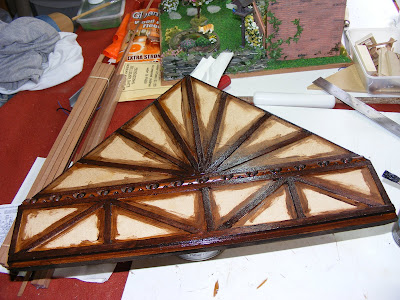
So I am going to make all the fronts that come off on the second floor apexed so that when they are taken out all the roof beamwork will be visible.
Also I think that there are enough rooms anyway.
This will be the front to the small bedroom on the left hand side as you look at the house.
So I am going to make all the fronts that come off on the second floor apexed so that when they are taken out all the roof beamwork will be visible.
Also I think that there are enough rooms anyway.
This will be the front to the small bedroom on the left hand side as you look at the house.
Thursday 9 September 2010
Saturday 4 September 2010
Thursday 2 September 2010
Library / Music room
Thought I would do a bit more of a 'thing' with the beams for the front of the Library / Music room. Give the house a varied look.
Wednesday 1 September 2010
Bay Window
Voila....The Bay window just slides in and out. The small retaining wall is also removable to give a large access area to put furniture in.
Support for window
This is the small retaining wall that will support the back of the large Bay window. All ready to be clayed up.
External Stair well
Boarded out ready for staining. I will use a sponge for the staining as this should give a quicker coverage with least marks.
Floor boards
I used the Iron on strip that you can get on a roll. I think it looks better than ply cut into strips and should look ok once stained. The reason I don't like ply for this is because the grain is too large, which is why I don't use it for beams etc either
Subscribe to:
Posts (Atom)
